Phase 1: Safety Lockout (Minutes 0 to 10)
- Cut electrical power. Shut off the basement circuits at the main panel. If the panel is in the wet basement, do not enter. Call your utility for an emergency disconnect at the meter.
- Shut off the water source. Main shutoff is typically within 3 to 5 feet of where the supply line enters the foundation. Turn clockwise until firm.
- Shut off the gas supply if the water heater or furnace is submerged above the burner assembly (roughly 6 inches off the floor).
- Confirm water category. Clear supply line water is Category 1. Appliance discharge or groundwater is Category 2. Sewage, storm runoff, or water sitting more than 48 hours is Category 3.
- Put on PPE. Rubber boots rated to your water depth, nitrile gloves at minimum 5 mil, and N95 respirator. For Category 3, add eye protection and a Tyvek suit.
- Check for slip and trip hazards. Floating debris, displaced tools, and submerged extension cords account for most basement injuries during self response. Clear a single entry path before bringing in equipment.
- Identify your egress. Confirm one dry exit route is available before any extended work. Do not block stairwells with hoses or cords.
Phase 2: Document and Notify (Minutes 10 to 45)
- Photograph every wall, every corner, and every damaged item before moving anything. Capture the water line on drywall and the serial plates on submerged appliances.
- Shoot a 60 second walkthrough video with audio describing what you see.
- Call your insurance carrier and open a claim. Request the claim number, adjuster name, and direct phone line in writing via the carrier app.
- Review your policy declarations page for the water damage sublimit, sewer backup rider (typically 5,000 to 25,000 dollars), and deductible.
- Contact a restoration provider. Trafalgar Water Restoration answers Trafalgar calls 24/7 and can usually arrive within 60 to 90 minutes inside Marion County and within 2 hours for surrounding counties.
- Start a contents inventory in a spreadsheet. List item, brand, model, age in years, and replacement cost estimate. Adjusters approve claims 30 to 50 percent faster when this is submitted up front.
- Save receipts for tarps, fans, pumps, lodging, and any meals taken outside the home. Most policies reimburse Additional Living Expense within the loss of use limit.
Prevention Checklist Before the Next Storm
- Install a battery backup sump pump rated for 2,400 gallons per hour minimum, with a tested runtime of at least 7 hours.
- Add a water alarm at the lowest floor elevation and a second alarm beside the water heater pan.
- Extend downspouts 6 to 10 feet from the foundation and confirm grade slopes away at 1 inch per foot for the first 6 feet.
- Schedule annual sewer line camera inspection if your home is over 40 years old or has mature trees within 20 feet of the lateral.
Phase 6: Verify and Close Out (Day 5 to Day 7)
- Confirm three consecutive 24 hour readings at or below dry standard for each material.
- Run an ATP surface test if Category 3 was present. Acceptable reading is under 100 RLU.
- Apply an EPA registered antimicrobial to all affected framing.
- Document final readings, equipment hours, and chamber conditions. Submit to your adjuster within 7 days.
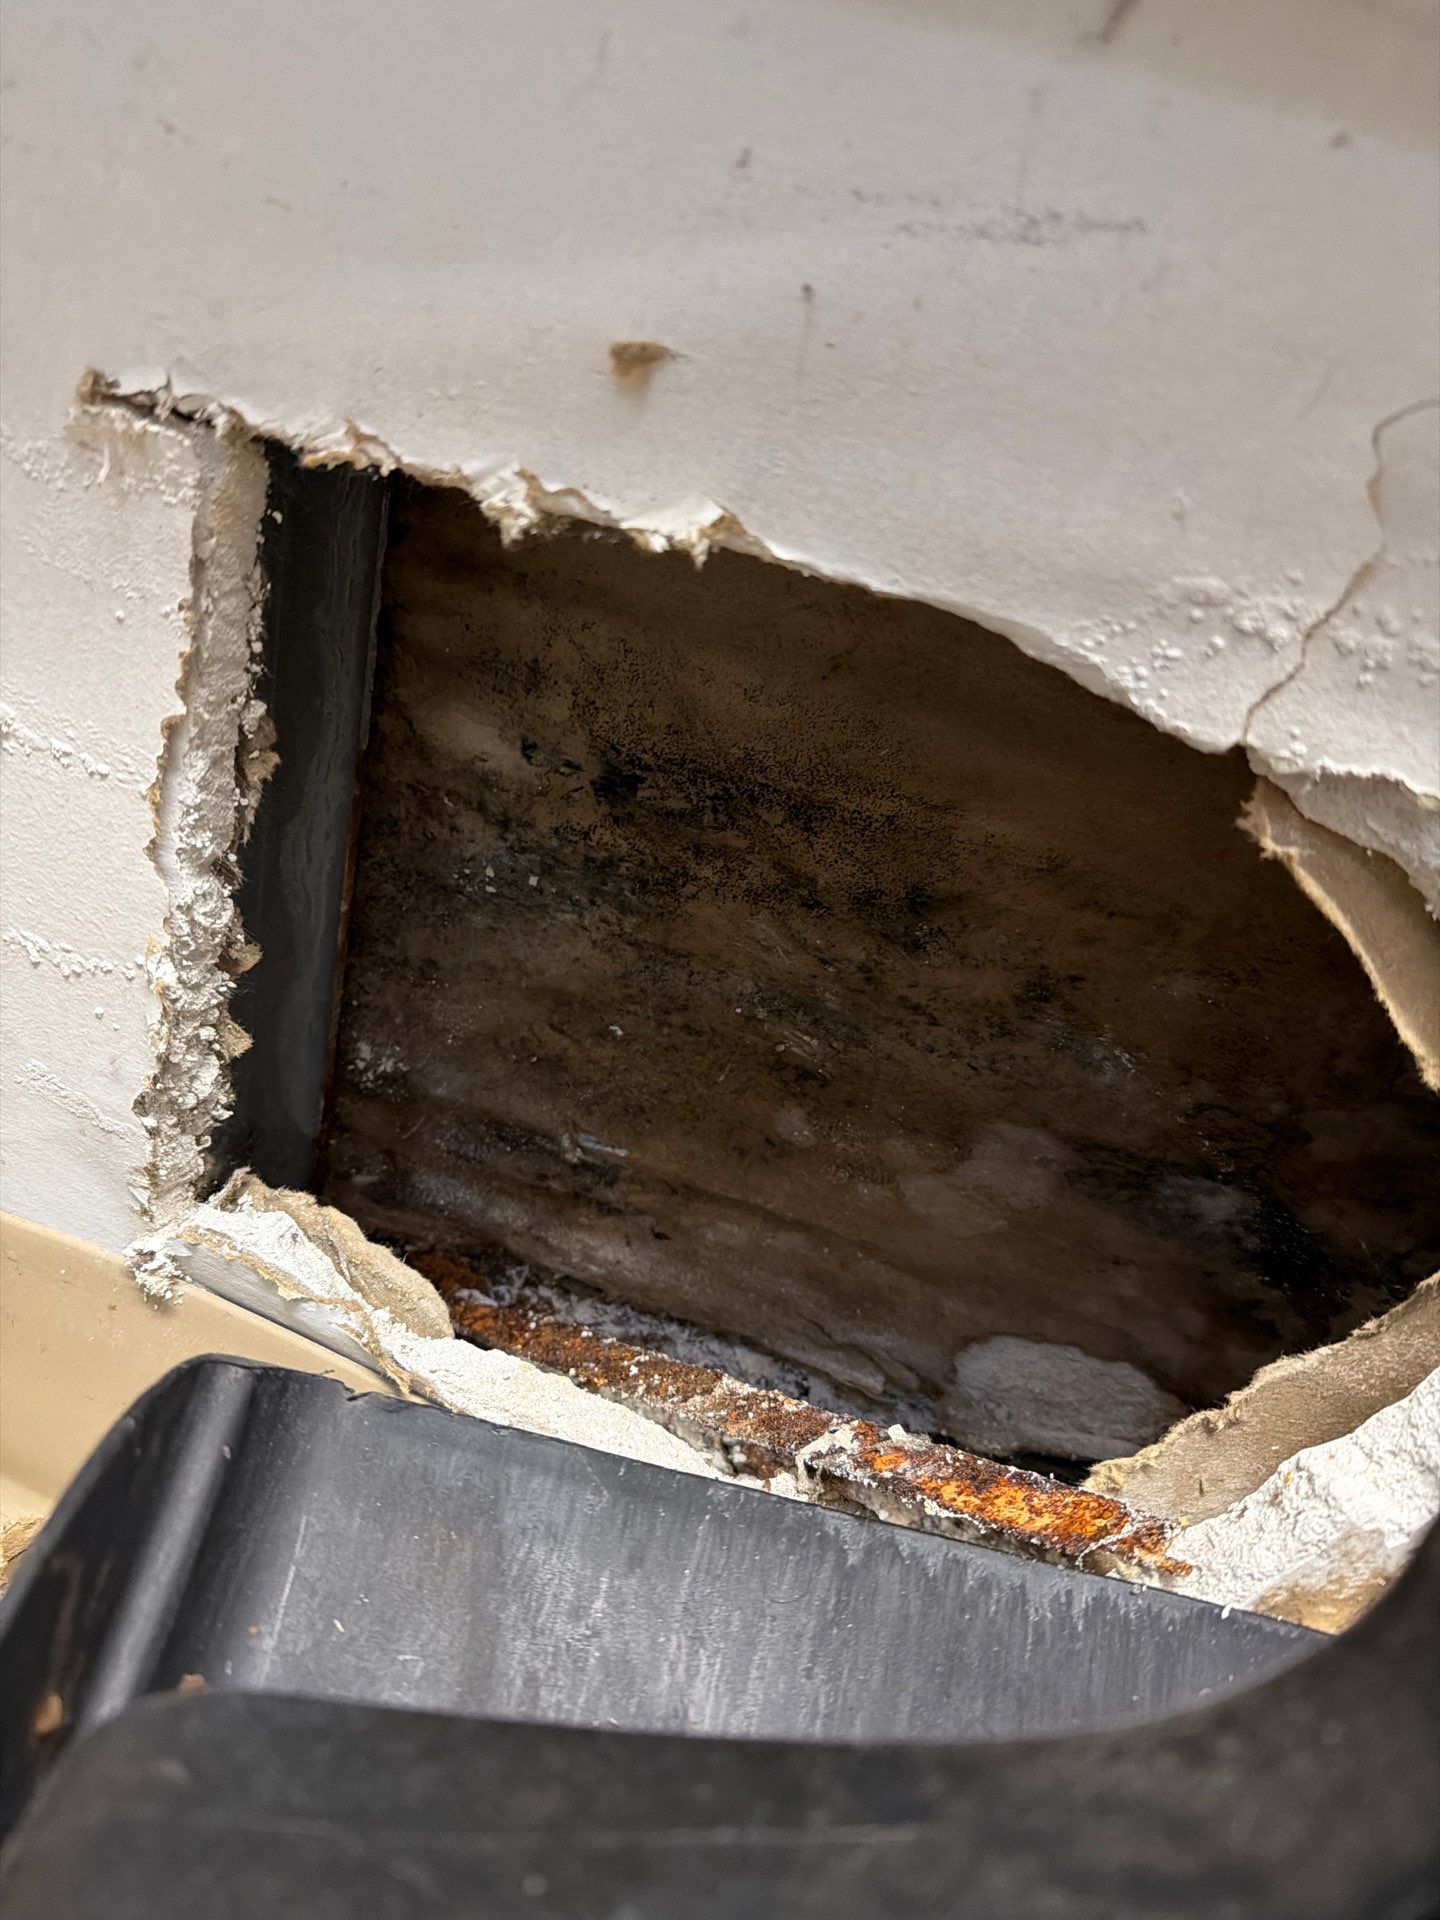
- Schedule reconstruction. If mold growth appeared during drying, review the 48 hour mold growth rule before closing walls.
- Request a written certificate of completion from your restoration contractor. This document protects resale value and satisfies most Trafalgar mortgage and refinance inspections.
Phase 3: Water Extraction (Hour 1 to Hour 6)
- Remove standing water above 2 inches with a trash pump rated 1,500 to 3,000 gallons per hour. A wet vac will not clear volume at this depth.
- Extract residual water below 2 inches with a truck mounted or portable extractor pulling 12 to 15 inches of mercury. Carpet should be extracted in overlapping passes at 18 inches per second.
- Discharge the water at least 20 feet from the foundation, downhill, into a permeable area. Never discharge Category 2 or 3 water into a storm drain.
- Pull baseboards in the affected zones and drill 1/2 inch weep holes every 12 inches along the bottom plate to release trapped wall cavity water.
- Remove and bag all Category 3 soft goods. Carpet pad always gets discarded. Carpet itself can sometimes be saved if exposure was under 24 hours and the water was Category 1.
- Inspect floor drains for backflow. If the drain is the source of the flood, do not extract toward it. Cap it with a test plug until the line is cleared by a plumber.
If you are unsure which category applies, review our breakdown of Category 1 vs Category 2 vs Category 3 water damage before deciding what to keep.
Phase 5: Demolition Decisions (Day 2 to Day 4)
- Drywall: Cut 2 inches above the visible water line for Category 1, or 24 inches above for Category 2 and 3. Use a chalk line for straight reinstall later.
- Insulation: Remove all wet fiberglass batt and cellulose. Closed cell spray foam can often stay if the substrate dries.
- Subfloor: Particle board swells permanently and gets replaced. Plywood may dry if it reaches under 14 percent moisture in 5 days. See our notes on subfloor water damage detection and repair cost for thresholds.
- Mechanicals: Replace any furnace or water heater whose burner, gas valve, or control board sat in water. Do not relight.
- Cabinetry: Particleboard kick plates and toe kicks swell within 4 to 8 hours. Solid wood cabinet boxes can usually be saved if drilled for ventilation and dried in place.
- Doors and trim: Hollow core interior doors absorb water through the bottom rail. If swelling exceeds 1/8 inch, replace rather than sand.
Phase 4: Structural Drying Setup (Hour 6 to Hour 24)
- Place air movers at a ratio of one unit per 50 to 60 linear feet of wall, angled 15 to 45 degrees against wet surfaces.
- Place LGR dehumidifiers rated at 130 to 150 pints per day. One unit per 1,000 to 1,500 square feet of affected space is the working baseline.
- Target conditions: 70 to 85 degrees Fahrenheit, relative humidity below 50 percent, grain depression of at least 30 grains per pound between intake and exhaust.
- Log readings every 24 hours with a pin meter for wood (target under 16 percent) and a non-penetrating meter for drywall and concrete.
- Run continuously for 3 to 5 days. Do not shut equipment off overnight. A 12 hour shutdown can extend drying by 36 hours.
- Balance electrical load. A standard 15 amp circuit will safely run two air movers or one LGR dehumidifier, not both. Stagger across multiple circuits and avoid daisy chained power strips.
- Contain the drying chamber. Seal stairwells with 6 mil poly and zipper doors to prevent humid air from migrating into upper floors and condensing on cool surfaces.